Earthing layers form the unseen safety structure that helps electrical systems discharge fault current, lightning energy, and static buildup into the ground. In residential, commercial, and industrial settings, a properly designed earthing system reduces shock risk, protects equipment, and supports stable electrical performance. The effectiveness of the system depends not only on the electrode but also on the materials, soil treatment, protective layers, and installation method used around it.
TLDR: Earthing layers are built to create a low-resistance path between an electrical system and the earth. Common layers include the electrode, conductive backfill, moisture-retention material, protective covering, and inspection access. Materials such as copper, galvanized steel, bentonite, graphite, and conductive concrete are selected based on soil conditions, corrosion risk, and electrical load. Correct installation and regular testing are essential for long-term safety.
What Are Earthing Layers?
Earthing layers are the different physical and functional components placed around an earthing electrode to improve conductivity, durability, and safety. Instead of relying only on a metal rod or plate buried in soil, a layered approach helps maintain consistent contact with the ground, especially where soil resistivity changes due to dryness, rocks, or seasonal conditions.
In a basic system, the electrode connects to the electrical installation through an earthing conductor. Around it, installers may add conductive backfill, moisture-retaining compounds, corrosion protection, and a surface access chamber. Each layer has a specific role, from carrying current to preserving the electrode’s condition over time.
Image not found in postmetaMain Types of Earthing Layers
1. Electrode Layer
The electrode layer is the heart of the earthing system. It is the conductive element placed in the ground to transfer fault current into the soil. Common electrode formats include earth rods, plates, strips, mats, and grids. Rod electrodes are widely used for homes and small commercial buildings, while grid and mat systems are common in substations, factories, and high-load environments.
The choice of electrode depends on available space, soil resistivity, fault current level, and local electrical codes. Deeper rods are often used where surface soil is dry, while horizontal strips may be preferred where excavation is easier than deep drilling.
2. Conductive Backfill Layer
The conductive backfill layer surrounds the electrode and improves electrical contact with the earth. This layer is especially important in rocky, sandy, or high-resistivity soil. Materials such as bentonite, graphite powder, conductive concrete, coke breeze, and carbon-based compounds are commonly used.
Bentonite expands when wet, helping it maintain contact with both the electrode and the soil. Graphite and carbon-based materials offer high conductivity and long service life. Conductive concrete is often used in industrial applications where mechanical stability and low resistance are both required.
3. Moisture-Retention Layer
Soil moisture has a major effect on earthing resistance. A moisture-retention layer helps keep the area around the electrode damp, allowing current to flow more easily. Bentonite is frequently used for this purpose because it absorbs and holds water effectively.
In older installations, mixtures of charcoal and salt were sometimes used to improve conductivity. However, these can accelerate corrosion and may leach into the surrounding soil. Modern systems usually favor environmentally safer and corrosion-resistant compounds instead.
4. Protective and Separation Layer
A protective layer prevents physical damage and helps separate the earthing components from harmful materials. It may include selected soil, sand bedding, PVC sleeves, anti-corrosion tape, or protective coatings around conductors. This layer is particularly useful where the soil contains chemicals, construction debris, or sharp stones.
For buried conductors, protection also reduces the chance of accidental damage during future digging. In commercial sites, warning tape may be placed above the earthing conductor to alert workers before they reach the live earthing infrastructure.
5. Inspection and Access Layer
An inspection chamber or earth pit cover forms the upper access layer. It allows electricians to test resistance, inspect connections, and add water or maintenance compounds if needed. This layer should be strong enough to withstand foot traffic or vehicle loads, depending on its location.
Image not found in postmetaCommon Materials Used in Earthing Layers
- Copper: Highly conductive and corrosion resistant, often used for rods, plates, and conductors. It performs well but costs more than many alternatives.
- Galvanized iron or galvanized steel: Cost-effective and widely used, though it may corrode faster in aggressive soil conditions.
- Stainless steel: Suitable for corrosive environments, but typically more expensive and slightly less conductive than copper.
- Copper-bonded steel: Combines the strength of steel with a conductive copper surface, making it popular for driven rods.
- Bentonite: A clay-based material that swells with moisture and lowers earth resistance around electrodes.
- Graphite and carbon compounds: Used to enhance conductivity and provide stable long-term performance.
- Conductive concrete: Often used in substations, telecom sites, and areas requiring robust grounding structures.
Installation Guide for Earthing Layers
Step 1: Assess the Site
Before installation, the soil type, moisture level, available space, and expected electrical load should be evaluated. A soil resistivity test helps determine the required electrode depth, number of electrodes, and suitable backfill material. Sandy and rocky soils generally need more enhancement than clay-rich soils.
Step 2: Select the Earthing Method
The installer chooses the earthing method based on the application. A single rod may serve a small building, while multiple rods, a ring earth, or a grid may be needed for larger facilities. Lightning protection systems, solar installations, generators, and data centers often require additional design attention.
Step 3: Excavate or Drill
For rod earthing, a borehole is drilled or the rod is driven into the ground. For plate or strip earthing, a pit or trench is excavated to the required depth. The excavation should be free from debris, sharp stones, and materials that may damage the electrode or conductors.
Step 4: Place the Electrode
The electrode is installed vertically or horizontally as designed. Connections between the electrode and earthing conductor must be tight, clean, and corrosion protected. Exothermic welding, approved clamps, or compression fittings may be used, depending on code requirements and project specifications.
Step 5: Add Conductive Backfill
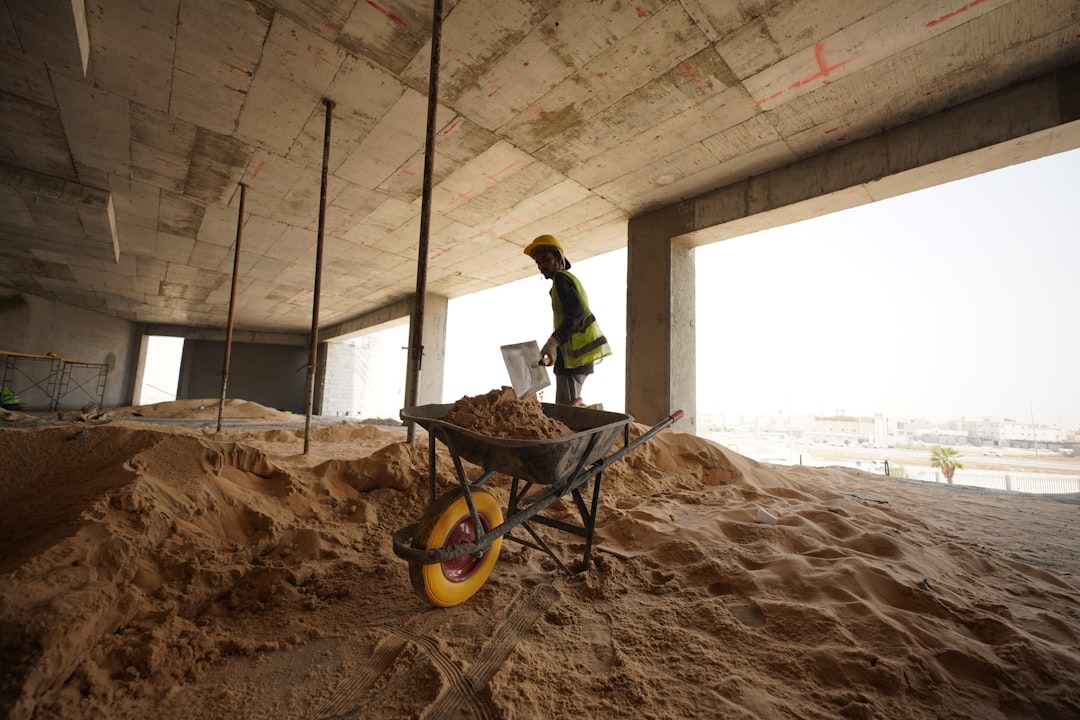
The conductive material is poured around the electrode in layers, with water added if required by the manufacturer’s instructions. The goal is to eliminate air gaps and ensure close contact between the electrode, backfill, and natural soil. Poor compaction or uneven filling can increase resistance.
Step 6: Install Protection and Access
After the main conductive layers are complete, the remaining pit or trench is filled with selected soil or protective bedding. Warning tape may be added above buried conductors. An inspection chamber is then placed at the top so the system can be tested and maintained without excavation.
Step 7: Test the System
Once installation is complete, earth resistance should be measured using an approved earth tester. The acceptable value depends on the system type and applicable standards. If resistance is too high, additional electrodes, deeper rods, or more conductive backfill may be required.
Maintenance Considerations
Earthing systems should not be treated as permanent and maintenance-free. Over time, corrosion, loose connections, dry soil, construction disturbance, or chemical contamination can reduce performance. Periodic testing helps confirm that the resistance remains within the required range.
Inspection chambers should be kept accessible, clean, and properly covered. Any visible corrosion, damaged conductor, or loose clamp should be corrected by a qualified electrician. In critical facilities, scheduled testing is usually documented as part of electrical safety compliance.
FAQ
What is the most important layer in an earthing system?
The electrode layer is the most important because it conducts fault current into the ground. However, the surrounding backfill and moisture-retention layers strongly influence how well the electrode performs.
Which material is best for earthing electrodes?
Copper is highly effective because of its conductivity and corrosion resistance. Copper-bonded steel is also widely used because it offers strength, durability, and lower cost than solid copper.
Is salt and charcoal earthing still recommended?
Salt and charcoal can reduce resistance temporarily, but salt may cause corrosion and environmental concerns. Modern systems often use bentonite, graphite, or conductive compounds instead.
How often should earthing resistance be tested?
Testing frequency depends on the site and regulations. Many installations are checked annually, while critical industrial, telecom, or lightning protection systems may require more frequent testing.
Can earthing be installed without professional help?
Earthing should be designed and installed by qualified professionals. Incorrect installation can create shock hazards, equipment damage, and non-compliance with electrical safety standards.