Professional YouTube editing is not about using the most expensive software or adding flashy effects to every second of footage. For beginners, it is about making a video clear, watchable, well-paced, and aligned with the audience’s expectations. A new creator can improve video quality quickly by learning a simple workflow, using clean cuts, improving audio, and adding only the graphics that support the message.
TL;DR: A beginner can edit professional-looking YouTube videos by organizing footage, cutting unnecessary parts, improving sound, adding simple visuals, and exporting with the right settings. For example, a 12-minute raw recording can often become a stronger 6-minute video after removing pauses, mistakes, and repeated points. Many creators see better retention when the first 30 seconds are tightened, because viewers often decide whether to keep watching during that window. Clean editing, consistent branding, and clear audio usually matter more than complex effects.
Start With a Clear Editing Plan
Before opening editing software, the creator should know the purpose of the video. A tutorial, product review, vlog, or commentary video each needs a different rhythm. A beginner editor benefits from asking three questions: What should the viewer learn, feel, or do by the end? Which parts are essential? Where might the viewer lose interest?
A simple outline helps prevent random editing choices. For example, a product review might follow this structure:
- Hook: A strong opening statement or result.
- Context: What the product is and who it is for.
- Main points: Features, pros, cons, and examples.
- Verdict: A clear recommendation.
- Call to action: A reminder to like, comment, subscribe, or watch another video.
Choose Beginner-Friendly Editing Software
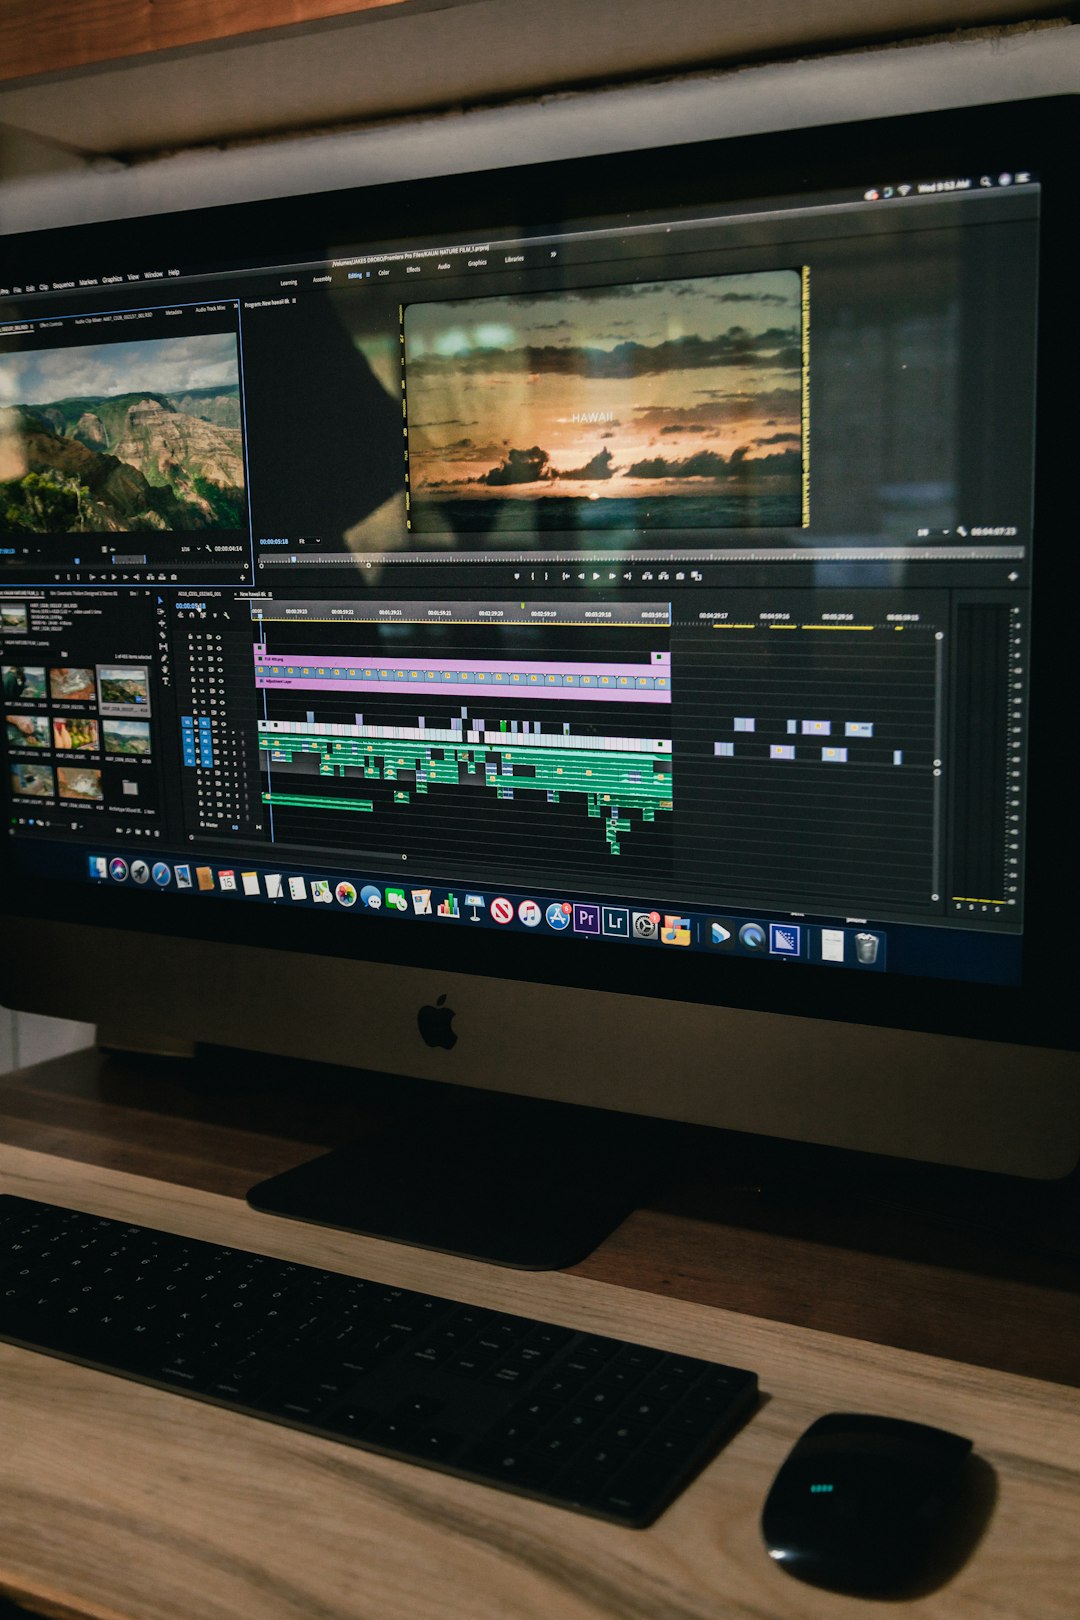
A beginner does not need advanced tools immediately. The best editing software is the one that supports the creator’s current skill level and device. Popular options include desktop editors for more control and mobile editors for quick social-first workflows. The editor should focus on basic functions first: trimming, splitting, audio adjustment, text, transitions, color correction, and exporting.
Professional results come from consistent decisions, not from complicated menus. If the creator spends more time searching for effects than shaping the story, the software is getting in the way. A clean timeline and reliable export settings are more important than having hundreds of features.
Organize Files Before Editing
Professional editors rarely dump all media into one folder and hope for the best. Beginners should create folders for raw footage, audio, music, graphics, exports, and project files. This habit saves time and prevents missing files later.
Clips should be renamed when possible. Instead of leaving files named “IMG_2048” or “Video_001,” the creator can use labels such as “intro take,” “product closeup,” or “screen recording section two.” This makes the editing process faster and less stressful, especially when working with longer videos.
Cut for Clarity and Pace
The first major editing task is trimming. Beginners should remove long pauses, mistakes, repeated sentences, awkward silences, and sections that do not support the main idea. A professional YouTube video usually feels intentional. Every clip should have a reason to stay.
The opening is especially important. The editor should avoid slow greetings, long explanations, and unrelated background information. A strong hook can show the result, introduce the problem, or preview the most interesting moment. For example, instead of starting with “Welcome back to the channel,” a cooking creator might begin with, “This five-minute sauce can make plain pasta taste like a restaurant meal.”
Jump cuts are common on YouTube and can make talking-head videos feel faster. However, too many jump cuts can become distracting. The editor can cover some cuts with B-roll, screenshots, zoom-ins, or graphics to keep the video visually smooth.
Use B-Roll to Add Visual Interest
B-roll is supporting footage that appears over the main audio. It can show details, examples, reactions, locations, screen recordings, or product closeups. For beginners, B-roll is one of the easiest ways to make a video look more professional.
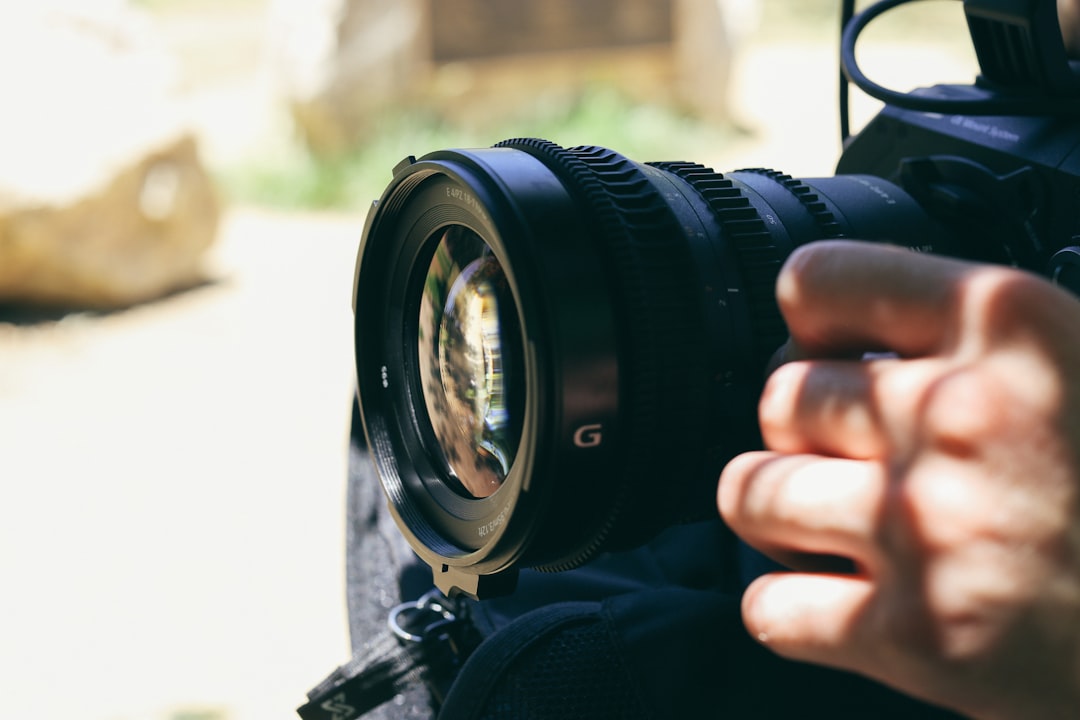
If a creator is explaining how to set up a camera, the video should not show only the creator talking. It can include clips of the camera body, menu settings, tripod adjustment, and sample footage. These visuals help the viewer understand the topic while making the edit more dynamic.
Improve Audio Before Adding Effects
Audio quality often affects professionalism more than visuals. Viewers may tolerate average video quality, but they are less forgiving of echo, background noise, or inconsistent volume. A beginner editor should clean the audio before focusing on transitions or color effects.
Basic audio improvements include:
- Reducing background noise if the software includes a noise reduction tool.
- Balancing volume so speech does not become too loud or too quiet.
- Removing clicks, coughs, and long breaths where possible.
- Adding background music softly so it supports the video without covering speech.
Music should match the tone of the video. A finance tutorial may need subtle, calm music, while a travel vlog may benefit from something more energetic. The editor should always make sure music is licensed for use on YouTube.
Add Text, Graphics, and Subtitles Carefully
Text can make a video easier to follow, especially when introducing steps, names, prices, statistics, or key points. Beginners should use simple fonts, readable sizes, and consistent colors. Too many fonts and animated titles can make a video feel amateur.
Subtitles or captions are also useful. Many viewers watch videos with the sound low or muted, especially on mobile devices. Captions can improve accessibility and help viewers follow complex information. If full captions are not possible, the editor can at least highlight important phrases or steps on screen.
Graphics should support the content rather than compete with it. A small arrow, circle, label, or progress bar can be more effective than an exaggerated animation.
Use Color Correction for a Cleaner Look
Color correction helps footage look balanced and natural. Beginners should start with simple adjustments: exposure, contrast, white balance, saturation, and shadows. The goal is not to create a dramatic movie look immediately. The goal is to make the footage clear and consistent.
If multiple clips were filmed in different lighting, the editor should match them as closely as possible. A sudden shift from warm yellow lighting to cool blue lighting can make the video feel less polished. Small corrections can make the whole project look more professional.
Keep Transitions Simple
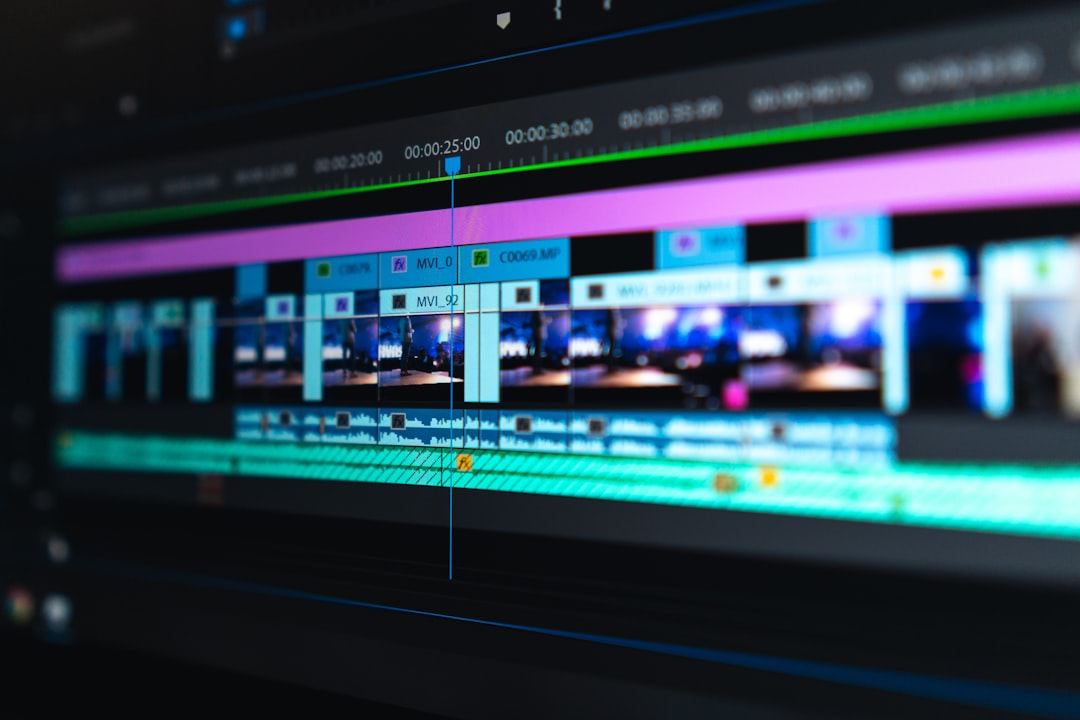
Beginners are often tempted to use spinning, flashing, or sliding transitions. In most professional YouTube videos, simple cuts are enough. A fade, cross dissolve, or quick zoom can work when it has a purpose, but transitions should not distract from the message.
A good rule is to use transitions for changes in time, location, or topic. If the same speaker continues the same thought, a basic cut usually works best.
Export With the Right Settings
After editing, the creator should export the video in a format suitable for YouTube. Common beginner-friendly settings include MP4, H.264, and a resolution of 1080p or 4K if the footage was recorded in 4K. The frame rate should usually match the original recording, such as 24, 30, or 60 frames per second.
Before uploading, the editor should watch the final video from start to finish. This final review helps catch spelling mistakes, audio problems, black frames, awkward cuts, or export glitches.
Final Thoughts
Professional YouTube editing for beginners is a skill built through repetition. The creator should not aim for perfection in the first few videos. Instead, each upload can improve one area: cleaner audio, stronger pacing, better B-roll, or more consistent branding. Over time, these small improvements create videos that look more polished and keep viewers watching longer.
FAQ
-
What is the most important editing skill for YouTube beginners?
The most important skill is cutting unnecessary footage. Strong pacing keeps viewers engaged and makes the video feel more professional. -
Does a beginner need expensive editing software?
No. A beginner can create polished videos with affordable or free software as long as the basics are handled well: clean cuts, good audio, readable text, and proper export settings. -
How long should a YouTube video be?
The video should be as long as needed to deliver value without filler. A clear 6-minute video is usually better than a slow 15-minute version of the same idea. -
Should beginners use lots of effects?
No. Effects should support the story. Simple cuts, useful text, and relevant B-roll usually look more professional than excessive transitions. -
How can a creator make videos look professional faster?
The editor should improve audio, tighten the first 30 seconds, use B-roll, keep branding consistent, and review the full export before uploading.